Building underground antennas: experimental techniques and field-tested insights
Most radio enthusiasts spend their time perfecting antennas that rise above rooftops—tall masts, dipoles strung between trees, or sleek verticals. But what if you turned things upside down, literally? What if you built your antenna beneath your feet? Though unconventional, underground antennas have intrigued hams, survivalists, engineers, and curious tinkerers for decades.
This article takes you deep—into the world of underground antennas. We’ll explore how they work, where they’ve been used, how to build them, and what to expect in real-world performance. Whether you’re prepping for a blackout, experimenting with hidden systems, or just want to try something different, this guide is for you.
Why would anyone bury an antenna?
While it might sound odd, there are solid reasons to consider going below ground:
- Staying hidden: In situations where visible antennas might be restricted or dangerous, going underground keeps you off the radar.
- Surviving the elements: Underground systems don’t get knocked down by wind, snow, or falling branches.
- Technical challenge: Underground radio systems push the limits of our understanding—and that’s part of the fun.
- Limited space: Apartment dwellers or urban operators might not have space for a tower but do have a yard or crawlspace.
Of course, it’s not all upside. Soil absorbs RF energy like a sponge. Let’s look at what that means.
What happens to RF underground?
Soil is a tough environment for radio waves. Signals lose strength quickly. A few key points:
- Skin depth: This is how deep a signal can penetrate before it fades significantly. In dirt, even a few inches make a big difference.
- Losses: Soil has a higher dielectric loss than air. It eats energy.
- Magnetic fields: Low frequencies create magnetic fields that travel better through earth than higher-frequency electric waves.
Because of this, underground antennas tend to work better at:
- Very low frequencies (VLF)
- Short-range communication
- Receiving, rather than transmitting
But don’t be discouraged—people have made them work, often in creative ways.
A bit of history
Underground antennas aren’t new. They’ve been used in:
- Military operations: Hidden field stations buried loop antennas for secure, hard-to-find communication.
- Spycraft: During the Cold War, covert transmitters sent low-power signals through buried wire.
- Science: Geologists and researchers studying ELF/VLF often buried wire loops for signal detection.
- Prepper shelters: Communication from hidden bunkers demands a concealed antenna.
Most of these applications accepted trade-offs in performance for stealth or durability.
Common designs
There are several ways to design an underground antenna. Here are a few practical options:
Buried wires
A basic approach: dig a shallow trench and lay wire. Options include:
- Buried dipole: Two equal-length arms joined at a center feedpoint.
- Buried longwire: A long single wire, often end-fed.
These are simple but sensitive to soil conditions and depth.
Shielded magnetic loops
Loops built inside sealed, waterproof tubing work surprisingly well when buried shallow. Often used for:
- Low-frequency receiving
- Direction finding setups
Ground-mounted rods
Driving a metal rod into the soil and feeding it as a monopole antenna can work—especially at low frequencies—if matched with proper radials.
Coiled wire structures
Helical coils laid in a trench or conduit can form a resonant structure, especially in VLF experiments.In all these cases, performance depends heavily on how and where you bury the antenna.
Soil makes all the difference
Different soils yield different results:
- Sand: Terrible for RF. Low conductivity, high losses.
- Clay: Holds moisture well—better conductivity.
- Loam: A good balance—often best for buried antennas.
- Frozen ground: Poor performance, especially in winter.
Moist soil improves low-frequency signal travel, but too much water can also increase losses. It’s a delicate balance.
How to install your own
Thinking of giving it a try? Here’s how:
- Go shallow: 10–30 cm is deep enough to hide the wire but shallow enough to avoid total signal loss.
- Use tough wire: Soil eats cheap insulation. Use UV and chemical-resistant coatings.
- Keep curves gentle: Avoid tight bends that create unwanted inductance.
- Waterproof everything: Connectors, matchboxes, baluns—all need to be sealed up.
- Include ground radials: These improve performance, especially for vertical or longwire systems.
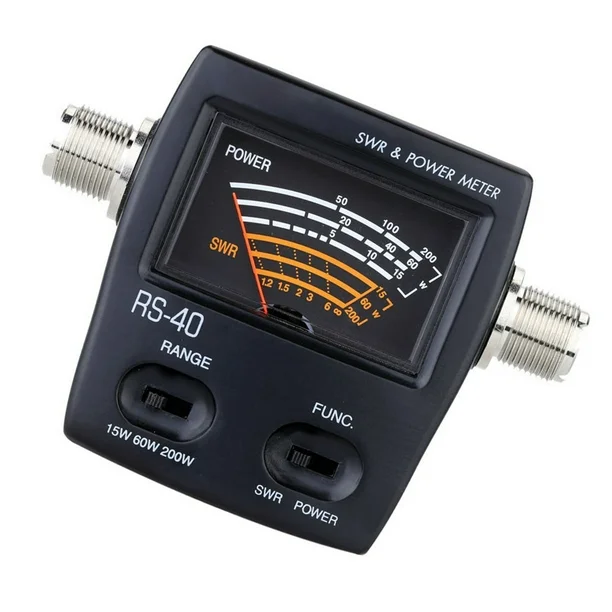
- Expect tuning headaches: SWR will likely be high. Use a tuner, and be patient.
PVC conduit can be useful if you want to make the antenna serviceable in the future.
What kind of results can you expect?
Reports from hams around the world vary, but here’s a snapshot:
- 80m buried dipole: Weak transmission, but okay local RX (~10 km).
- 20m end-fed wire in loam: 30–50 km range using QRP and digital modes.
- Shallow loop in the lawn: Surprisingly good shortwave receive, low noise.
What stands out:
- Performance drops at higher bands
- Receiving is easier than transmitting
- Tuners and patience are your best friends
Digital modes like FT8, JS8Call, and WSPR are where buried antennas really shine.
Modern-day use cases
Underground antennas aren’t just a curiosity. They’re being used today:
- Emergency kits: Backup systems for grid-down scenarios.
- Tactical teams: Military and field ops use buried wires for stealth.
- Smart sensors: IoT networks in agriculture or industry sometimes use low-power buried comms.
- Stealth radio enthusiasts: In areas where antennas aren’t allowed, going underground is a clever workaround.
If you’re in an HOA or live in an apartment, this might be your best (or only) option.
A few things to watch out for
Before you start digging:
- Call before you dig: Check for buried utilities.
- Understand local rules: Some areas require permits for underground wires.
- Label your work: Mark it clearly in case you—or someone else—digs it up later.
- Guard against corrosion: Use anti-oxidant pastes and protected connectors.
Taking shortcuts here could lead to safety issues or costly repairs.
What’s next in underground antenna design?
This area remains ripe for innovation. Some promising ideas:
- Amplified loops: Active receive-only systems with low-noise amps.
- Hybrid stealth arrays: Combining buried wires with hidden above-ground pieces.
- Soil-coupled digital: Using the soil itself as a low-bandwidth data path.
- Simulation modeling: Software tools help test ideas without digging first.
With SDR receivers and weak-signal digital modes, even the least efficient buried antenna can be useful.
Community projects and builds
Here are some real-world stories to inspire you:
- A ham in Belgium buried a 160m loop in his backyard and uses it all summer when storms make his tower too risky.
- An Australian builder hid a 40m end-fed wire under a layer of bark mulch. Totally invisible.
- A club in New York ran field trials comparing the same antenna above and below ground—just 15 cm made a measurable difference.
Common lessons:
- Buried antennas are great for receiving
- Digital modes outperform SSB/CW with buried setups
- Grounding and matching matter more than usual
Want to build one yourself?
Here’s a starter project you can try:
- Design: 20m end-fed halfwave
- Parts: ~10 meters of insulated wire, 49:1 transformer, waterproof box, a couple radials
- Depth: 20 cm trench, optional gravel layer
- Extras: Tuner or matching network
You won’t break any DX records, but it works, especially for FT8 or WSPR. And it’s nearly invisible.Going underground isn’t about beating the laws of physics—it’s about adapting to them. You won’t get performance like a 10-meter tower, but you might just make that important contact when it counts. And you’ll learn a lot in the process.So if you’ve got the curiosity—and a shovel—give it a try. You might discover that the best antenna is right under your feet.Picture source: OpenAI
Image(s) used in this article are either AI-generated or sourced from royalty-free platforms like Pixabay or Pexels.


